AGX-V2 Series - Opciones
AUTOGRAPH Precision Universal Tester
The New Software
TRAPEZIUMX-V Operation Software for Material Testing
TRAPEZIUMX-V for Windows 10 provides a number of easy-to-use features, such as a data search function, condition setting through a visual wizard, and a quick condition list where you can select test conditions directly from the start-up screen. You can easily create a variety of test conditions, from simple test controls to controls with complicated patterns.
Ensuring High Accuracy Measurements of Strengthened Materials
Higher accuracy testing control is required when testing materials being strengthened for the purpose of reducing the weight of transportation equipment. The combination of AGX-V2’s high response real-time autotuning function with the external noise-resistant AEH-3HR automatic extensometer functions effectively in strain rate tests as per the ISO 6892 metallic materials test standards. Additionally, for aging tests in which characteristic values are calculated based on two sets of test results, the functions built into the TRAPEZIUMX-V software reduce the number of calculations performed manually.
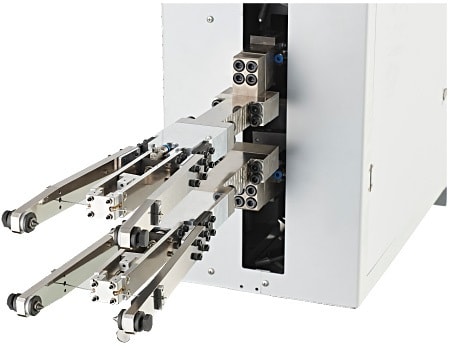
AEH-3HR High-Accuracy Automatic Extensometer
This ISO 9513 Class 1 compatible extensometer can measure elongation across a full range of tests, from measuring the modulus of elasticity to the breaking elongation. In combination with the AGX-V2 series machine, this high-resolution extensometer is compatible with the ISO 6892 strain control requirements.
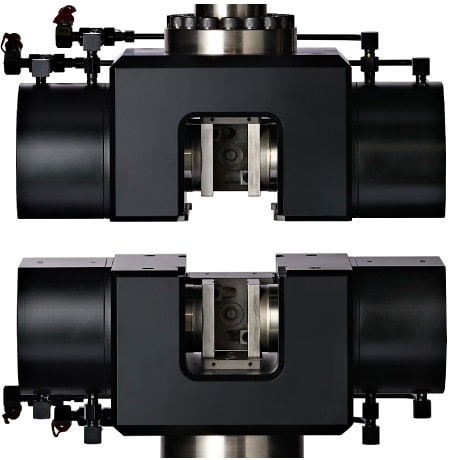
HFG Hydraulic Flat Grips
(100 kN, 300 kN, 600 kN)
These hydraulic flat grips provide high rigidity and a stable grip force. Opening or closing the grips and changing the grip force can be performed from the smart controller. They are equipped with a sample attachment guide and, in addition, a specially designed hydraulic power source has been adopted, which saves energy through intermittent operation.
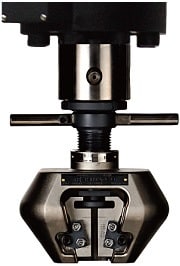
MWG Manual Non-Shift Wedge Grips
With these manual grips, turn the handle to grasp the sample. These are popular, cost-effective grips. By replacing the grip teeth, they can accommodate not only flat sheets of material, but also tests of rods.
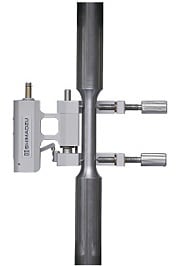
DT Differential Transformer Extensometer
This extensometer is used for strain measurements of metals, hard plastics, and other samples with comparatively small elongation. In combination with the AGX-V2 series, it is compatible with electric calibration, which improves user friendliness.
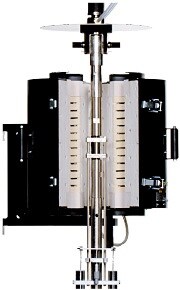
High-Temperature Test Device
This furnace is for high-temperature tests of heat-resistant alloys and ceramics. In combination with a special extensometer, it is compatible with strain measurements and strain control. Select from a lineup featuring a duplex unit that makes the most of the test cycle time, an IR lamp furnace capable of high-speed heating, and a unit with a temperature range up to 1500 °C.
Low-Temperature Test Device
For tests of brittleness, low-temperature immersion tanks for implementing bending tests in liquid nitrogen can be created.
* Some of these instruments require special optional parts to connect to a testing machine. Contact your Shimadzu representative.
Improving the Efficiency of Low to Medium Capacity Tests
It is important to control the temperature and humidity conditions when testing materials affected by these conditions. Shimadzu offers a variety atmospheric control testing machines, including refrigerator and gas injection types, to suit the objective. Additionally, the AGX-V2's high-speed return function reduces the standby time during long stroke tests, shortening the test cycle time. Combining switch-operated grips and automatic extensometers further reduces the cycle time.
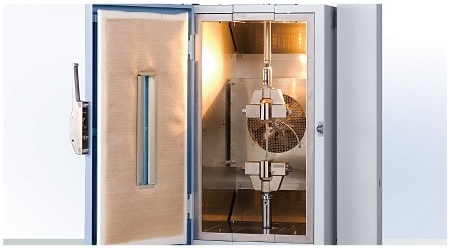
Device for Atmosphere Tests
Instruments are available for tensile, compression, and bending tests performed in environments not at normal temperatures, including everything from low-temperature to high-temperature environments.
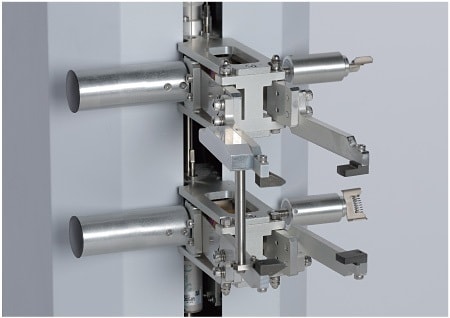
SIE Automatic Extensometer SIE-560A/560SA
This extensometer is equipped with various automatic functions. It automatically detects the grip positions, and moves the elongation measurement arm to a point between the grips. It releases from the sample automatically when the test is finished and returns to the default position, so after attaching the sample, the operator can entrust all the operations to the testing machine, which functions semi-automatically. The lineup also includes a high-accuracy type with a measurement accuracy of ±1 μm.
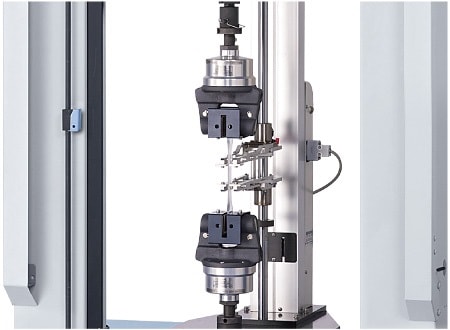
PFG Pneumatic Flat Grips
With these grips, a foot switch and an interlocked air chuck unit that starts testing automatically after the sample is gripped are selectable. The grips can maintain a stable force even when gripping soft samples that change thickness at the gripped part during testing.
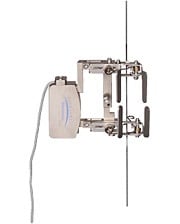
SG Series Strain Gauge Type Extensometer
This is widely used as a manual extensometer. Various types are available depending on the need, including conformity with grades in ISO, JIS, ASTM, and other standards, gauge lengths, and tests under high-temperature conditions.
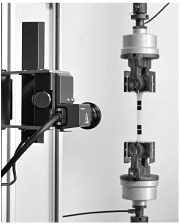
TRViewX Video Type Non-Contact Extensometer
This is a high-accuracy non-contact extensometer that measures the sample strain from captured images. It can accommodate everything from general materials to films that a contact extensometer cannot be attached to directly.
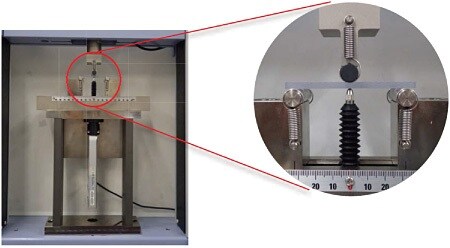
Bending Deflection Gauge
This deflection gauge for bending tests conforms with ISO 178 and JIS K7171. The displacement gauge is pressed against the lower surface of the sample. The indentation depth on the sample during testing is then measured with high accuracy.
The gauge is equipped with a mechanism that cancels the force used to press the displacement gauge, so it has no effect on the test force measurement.
* Some of these instruments require special optional parts to connect to a testing machine. Contact your Shimadzu representative.
Improving Design, Development, and Analysis Capacities
Validation & Verification (V & V) is required for high-precision simulation, and tests are conducted to load actual products. The auto-tuning function, which maintains the test force with high precision, the analog input function of up to 20 channels, and the WEB camera function are effective for these tests. You can also choose special test jigs to improve the accuracy of the simulation.
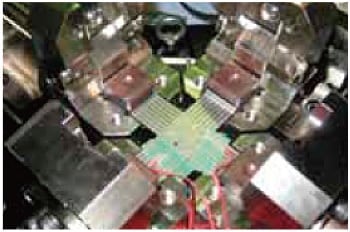
Biaxial Tensile Testing
Biaxial tensile tests can be implemented for samples in accordance with ISO 16842. The tensile ratio can be changed by exchanging parts.
In-Plane Reversing Testing
(Measurements of the Bauschinger Effect)
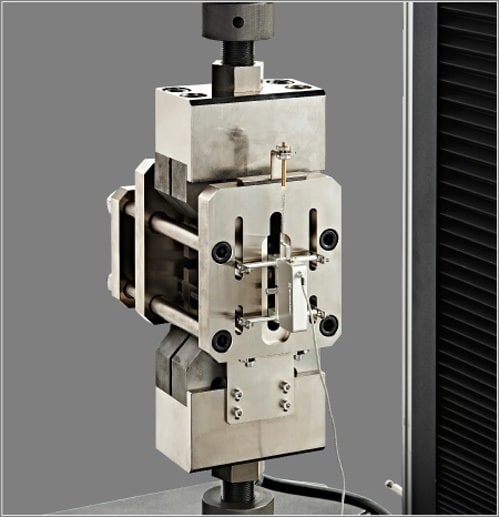
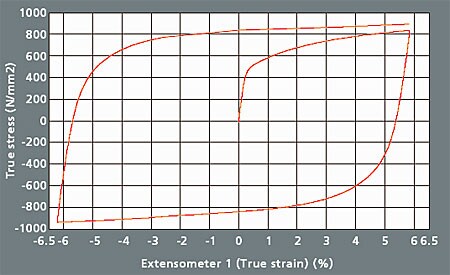
Plate materials are stretched in the longitudinal direction. After plastic deformation, the loading direction is reversed, and they are compressed in the longitudinal direction. The system can perform tests so that the plate materials do not buckle when force is applied again in the tensile direction.
Actual Object Testing
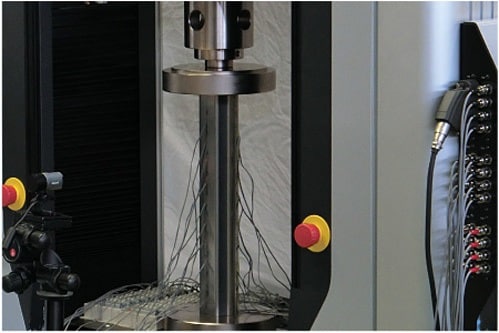
Compression plates and surface plates enable tests to be performed with a load applied to large parts and assemblies. Actual object testing can be used not only for strength evaluations but to confirm the results of simulations.
Strain Distribution Measurement
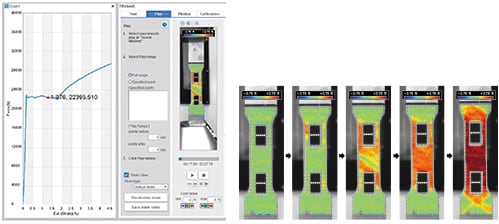
Grid marks applied to the surface of the sample are compared before and after deformation of the object, enabling users to investigate the amount of deformation of the object. Adding Real-Time Strain View software to the TRViewX video type non-contact extensometer enables real-time 2D mapping of the strain distribution. Operations are performed seamlessly using the TRViewX software.
* Some of these instruments require special optional parts to connect to a testing machine. Contact your Shimadzu representative.
Applications to New Materials
In the field of new materials development, including composite materials, unique tests are required to evaluate the strength of adhesive bonding between different types of material, and the lowering of strength due to scratches. Our lineup includes items compliant with ISO and JIS as well as ASTM standards, and optional instruments, such as a shaft alignment instrument as an entire testing system, are also available. Additionally, with ultra-high-speed sampling, a function of the main unit, even abrupt reductions in test force when highly brittle materials break are not overlooked.
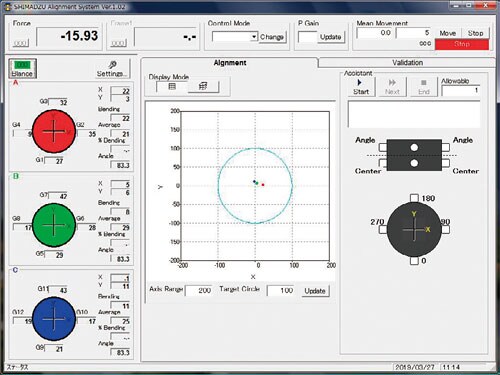
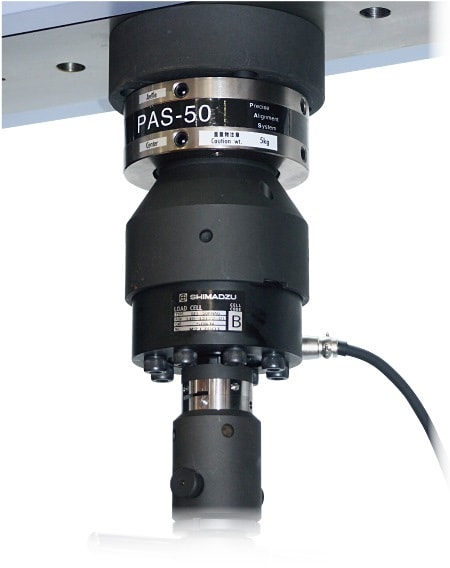
PASS shaft Alignment System
This instrument measures the alignment of a standard sample from the test axis using an attached strain gauge, and then performs adjustments to minimize the small deviation. It is possible to secure a core of ASTM E 1012 Class 8 or higher by combining jigs and test pieces.
Combined Loading Compression Test Jig
(CLC Test, ASTM D6641)
This is for a test method that combines shear load and end face load.
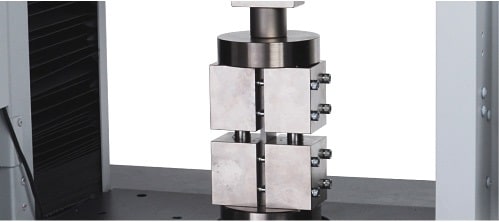
Jig for Evaluating Compression Residual Strength Properties
(ASTM D7137)
This is for a compression test on a sample that has been damaged in an impact test.
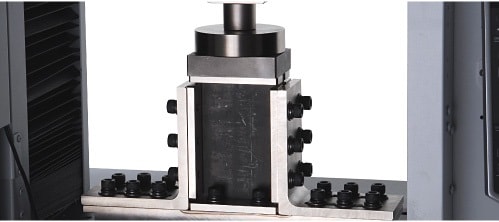
MMB Test Jig
(ASTM D6671)
This is for measuring interlaminar breakage in CFRPs, and can be used to perform a test with mixed mode I (opening mode) and mode II (in-plane shear mode).
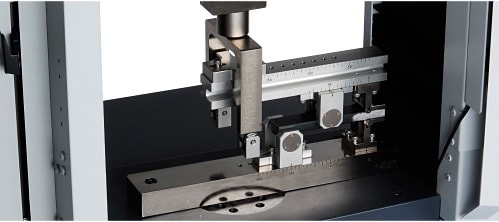
Double V-Notched In-Plane Shear Test Jig
(Iosipescu Method,ASTM D5379)
This is for measuring in-plane shear strength, in-plain shear fracture strain, and the in-plane shear elastic modulus.
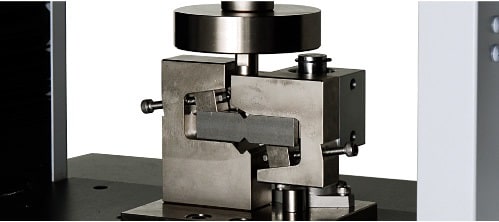
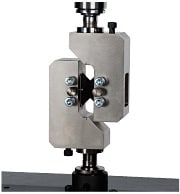
V-Notched Rail Shear Test Jig
(ASTM D7078)
This is for a shear test of a sample with 90° V-notches on the top and bottom.
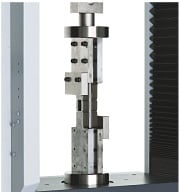
Open Hole Compression Test Jig
(OHC Test,ASTM D6484)
This is a compression test jig for an open hole test sample that has a circular hole in the center.
* Some of these instruments require special optional parts to connect to a testing machine. Contact your Shimadzu representative.

Tensile Test Jigs

Compression Test Jigs

Bending Test Jigs

Adhesive Strength Test Devices

Shearing Test Devices

Friction Test Devices

Cycle Test Devices


